Splatting a Robot Arm: Field Notes from Installing SplatSim
Sakib Chowdhury
Stevens Institute of Technology
Applied Project · Bring-Up Log
Field notes from installing SplatSim
— a Gaussian-splatting robot simulator — on a bare workstation: a dead dependency and a green-screen
technique for swapping the room out from under a photorealistic robot render.
Built entirely on top of SplatSim by Mohammad Nomaan Qureshi, Sparsh Garg, Francisco Yandun,
David Held, George Kantor, and Abhisesh Silwal —
SplatSim: Zero-Shot Sim2Real
Transfer of RGB Manipulation Policies Using Gaussian Splatting, ICRA 2025. All credit for the
method, code, and captured data is theirs; these are independent notes from using their work and are not
affiliated with the authors.
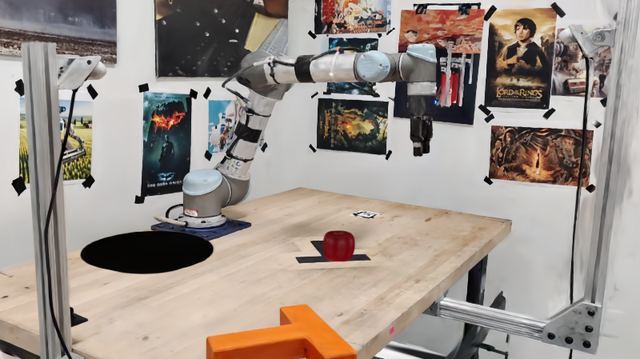
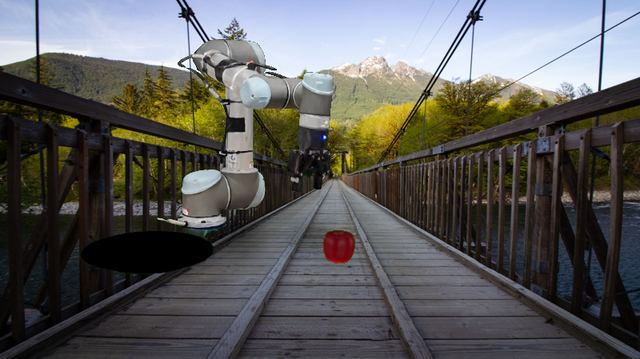
Original. The real captured room — no compositing, straight off the render server.Green-screened. Composited onto a synthetic gradient backdrop, despill + fake shadow applied.Real photo. Same green-screen render, composited onto a stock mountain/river photograph instead.
How SplatSim Works
SplatSim keeps two representations of the same robot in lock-step: an invisible PyBullet skeleton that
knows physics, and a Gaussian Splat — a point cloud trained from real photos of the robot and its workspace
— that gets dragged along to match it, frame by frame. Because the splat is built from real photographs,
the render looks photorealistic without ever re-rendering geometry from scratch; only the points that
belong to the robot move each frame.
The photographic detail (metal texture, paper posters, apple skin) is never re-rendered from geometry — it's carried by the original scan and simply moved around.
Bring-Up Log
The published install steps are accurate but assume a clean run. Ours wasn't. The short version of what it
took to get a clean install running:
A dead upstream dependency. One of SplatSim's git submodules points at a GitHub repo that no
longer exists, which aborted the whole recursive clone (and silently left several other submodules
empty). Fixed by repointing it at an active fork with the same package layout.
The CUDA build tooling was out of date. Compiling the Gaussian-splatting CUDA extensions needed a
newer compiler and CUDA toolkit than the machine's system defaults. Installed both directly into the
conda environment, no root access needed.
One dependency wasn't worth fighting. A GUI library for physical teleoperation hardware we don't
have failed to build; skipped it, since nothing used in this write-up needs it.
First Real Render
The actual test of "does this work" isn't the install finishing — it's a rendered frame. Replaying one of
the bundled recorded demonstrations through the running server produced this:
A real frame from replaying the bundled "apple on a plate" demonstration — the desk, posters, and robot are all one photo-trained splat; the apple is a second splat positioned by PyBullet.
Confirms the whole loop end to end — physics, per-link transform, splat render, save — not just that the server started.
Chasing a Different Background
The obvious next question — can we render the same task somewhere else — runs straight into how the system
is built: the wall, posters, and desk aren't a separate layer, they're part of the exact same trained point
cloud as the robot. There's no background asset to simply swap out.
The bundled data included a few other full scenes, but checking their source photos showed why reusing one wasn't a real shortcut:
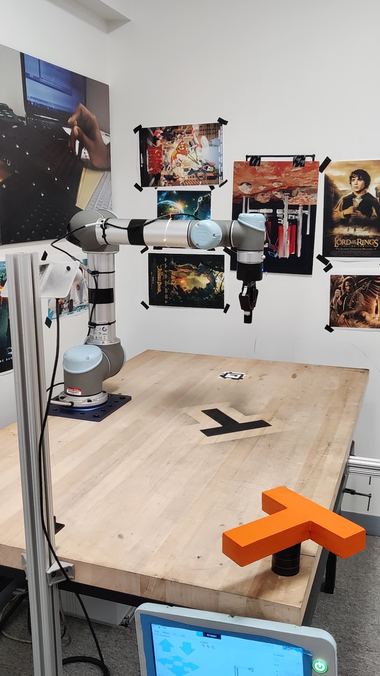
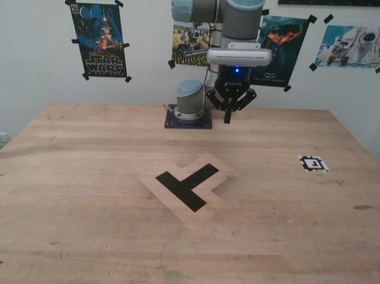
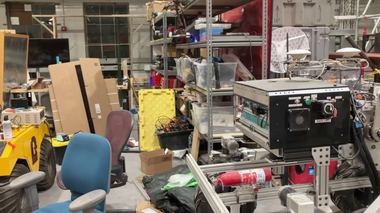
robot_high — same desk, same posters.ur_rss — same desk, different posters.benchmark_highbay — genuinely different room, but a different robot platform entirely.
Every UR5-compatible scene in the bundle turned out to be the same physical desk, re-decorated, and the one
scene shot somewhere else used an incompatible robot platform. Even reusing one would still require the
same manual scene-alignment step as recapturing from scratch, so we opted for a different approach
entirely: keep the one working splat, and remove the background computationally.
Green-Screening the Room
The render pipeline already computes, every frame, exactly which points belong to the robot — it needs
that split to know what to move. That's also precisely the mask a chroma-key composite needs, so a small
patch makes every other point render fully transparent instead, on an opt-in --greenscreen
flag:
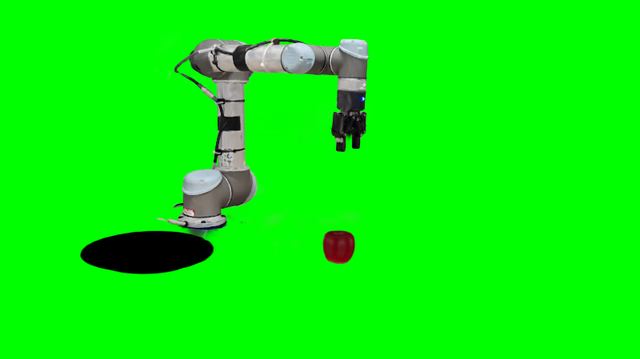
Raw output with --greenscreen: the robot and apple render cleanly; everything else is forced transparent and shows a pure-green background instead.
A standalone compositing script then keys out the green, cleans up edge spill, and pastes in a new
background image — entirely as post-processing, with no need to touch the slow-loading server again:
Composited onto an unrelated real photograph (a stock mountain/river scene) — total turnaround from the raw green-screen frames: about two minutes, no server restart.
Worth stating plainly: this is a 2D compositing trick, not a new capture. It buys a different-looking
backdrop in minutes instead of a full re-scan, at the cost of a shadow that's faked rather than physically
consistent, and no real occlusion between the new background and the robot.
All three, side by side
Same trajectory, same robot motion — only the backdrop changes:
Original. The real captured room — no compositing.Green-screened. Composited onto a synthetic gradient backdrop.Real photo. Same green-screen render, composited onto a stock photograph instead.
Using This on Your Own Robot or Task
Everything above is really three different levels of commitment, depending on what already exists.
Tier
What you get
What it costs
Reuse
New task logic on the existing robot_iphone scan — new motion/grasp logic, or new demonstrations via GELLO teleop or a scripted agent.
Copy sim_robot_pybullet_object_on_plate.py as a template; no new capture.
New object
A new item (tool, part) in the existing scene, alongside the existing robot.
Film it, run colmap, train a splat (~30–60 min GPU time), add one objects.yaml entry.
New robot / scene
A different robot or room entirely, fully independent of what's bundled.
Film + colmap + train, plus a hands-on CloudCompare ICP alignment between a generated URDF point cloud and the trained splat — the one step in this whole pipeline with no shortcut.
The manual scene-alignment step is the one part of this pipeline with no shortcut, even when reusing someone else's pre-trained scene.
Code
Everything needed to reproduce the green-screen render + compositing pipeline is on
GitHub,
and locally as a standalone script plus two patches applied on top of a SplatSim checkout: